First download all the necessary rpm files from :
http://www.nomachine.com/download.php
[root@nb-namran Downloads]# ls -alh nx*
-rw-rw-r-- 1 namran namran 4.3M Mar 31 12:46 nxclient-3.4.0-7.i386.rpm
-rw-rw-r-- 1 namran namran 6.7M Mar 31 12:47 nxserver-3.4.0-12.i386.rpm
then install it with just ..
rpm -ivh nxclient-3.4.0-7.i386.rpm nxserver-3.4.0-12.i386.rpm
depend on your system it might request for further dependencies..
if everything goes right..
you shall able to configure it after that..
files provided by nxserver is as below :
[ad#postad]
[root@nb-namran Downloads]# rpm -ql nxserver
/usr/NX
/usr/NX/bin
/usr/NX/bin/nxserver
/usr/NX/bin/nxstat
/usr/NX/etc
/usr/NX/etc/administrators.db.sample
/usr/NX/etc/guests.db.sample
/usr/NX/etc/keys
/usr/NX/etc/passwords.db.sample
/usr/NX/etc/profiles.db.sample
/usr/NX/etc/server-debian.cfg.sample
/usr/NX/etc/server-fedora.cfg.sample
/usr/NX/etc/server-mandrake.cfg.sample
/usr/NX/etc/server-redhat.cfg.sample
/usr/NX/etc/server-suse.cfg.sample
/usr/NX/etc/server.lic.sample
/usr/NX/etc/users.db.sample
/usr/NX/home
/usr/NX/home/nx
/usr/NX/home/nx/.bash_logout
/usr/NX/home/nx/.bash_profile
/usr/NX/home/nx/.bashrc
/usr/NX/home/nx/.hushlogin
/usr/NX/home/nx/.ssh
/usr/NX/home/nx/.ssh/restore.id_dsa.pub
/usr/NX/lib
/usr/NX/lib/perl
/usr/NX/lib/perl/DBI.so
/usr/NX/lib/perl/Fcntl.so
/usr/NX/lib/perl/GD.so
/usr/NX/lib/perl/SDBM_File.so
/usr/NX/lib/perl/SQLite.so
/usr/NX/lib/perl/SysV.so
/usr/NX/lib/perl/libgd.so.2
/usr/NX/scripts
/usr/NX/scripts/init
/usr/NX/scripts/init/nxserver
/usr/NX/scripts/restricted
/usr/NX/scripts/restricted/nxconfigure.sh
/usr/NX/scripts/restricted/nxcookiegen.sh
/usr/NX/scripts/restricted/nxdpyinfo.sh
/usr/NX/scripts/restricted/nxgroupadd.sh
/usr/NX/scripts/restricted/nxhost.sh
/usr/NX/scripts/restricted/nxpasswd.sh
/usr/NX/scripts/restricted/nxquotaadd.sh
/usr/NX/scripts/restricted/nxwtmpadd.sh
/usr/NX/scripts/restricted/nxwtmpdel.sh
/usr/NX/scripts/setup
/usr/NX/scripts/setup/nxserver
/usr/NX/share
/usr/NX/share/branding
/usr/NX/share/branding/server
/usr/NX/share/documents
/usr/NX/share/documents/server
/usr/NX/share/documents/server/baseline-info
/usr/NX/share/documents/server/install-notices
/usr/NX/share/documents/server/license-info
/usr/NX/share/documents/server/readme-info
/usr/NX/share/documents/server/update-notices
/usr/NX/share/images
/usr/NX/share/images/dnabig.png
/usr/NX/share/images/dnasmall.png
/usr/NX/share/images/dnyabig.png
/usr/NX/share/images/dnyasmall.png
/usr/NX/var
/usr/NX/var/db
/usr/NX/var/db/closed
/usr/NX/var/db/closed/.InfoManager.lock
/usr/NX/var/db/failed
/usr/NX/var/db/failed/.InfoManager.lock
/usr/NX/var/db/running
/usr/NX/var/db/running/.InfoManager.lock
/usr/NX/var/db/stat
/usr/NX/var/run
I guess just need to do this..
If executed by root:

--useradd USERNAME [--administrator]
                   [--system [--home[=homedir]|--nohome][--gid[=gid]]
                   [--uid[=uid]]]

  Add the user to the NX database and enable the NX login. The user
  must already exist on the host server when the command is executed.
  If the NX Server is configured to authenticate users through its own
  password DB, the server will prompt for a password. If the user is
  not present in the host server, the --system parameter should be
  specified to allow NX server to create the system account using the
  default settings configured for the useradd system command. If the
  UserId, UserGroup and UserHome keys are set on the server configu-
  ration file, and the --home, --gid and --uid parameters are provided,
  the server will create the account according to the values specified
  in the keys. If, for each of these parameters, the values are speci-
  fied in the command line, they override both the default values set
  in the system and the values set in the related keys. If the --nohome
  parameter is provided, the server will not create the home for the
  user. The --administrator parameter allows the server to grant NX
  administrator privileges to the user.
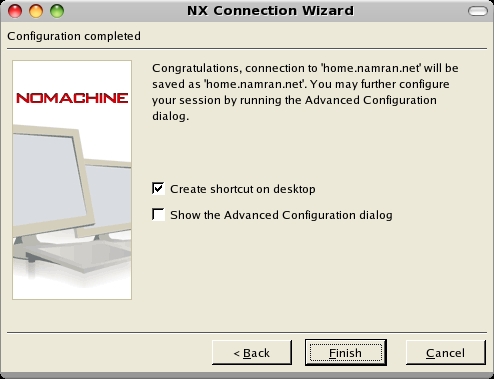
oh well…after that..
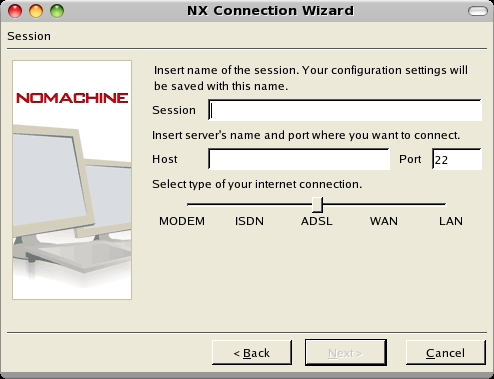
from the other machine..
enter the user credential ..
1.host
2.and SSH Port.
3. username
4. password
5. Session (can be Gnome,KDE,shadow)
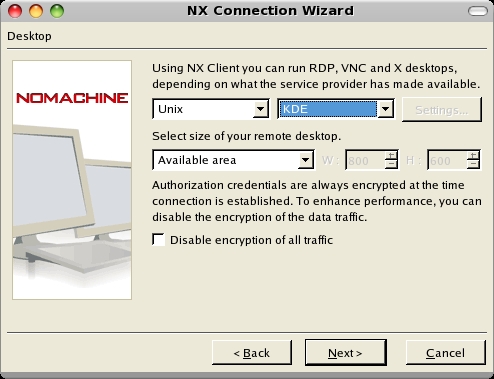
if you like .. can access the advance setting for the multimedia support..
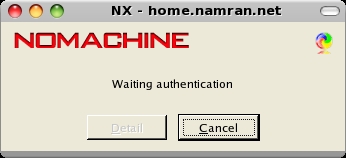
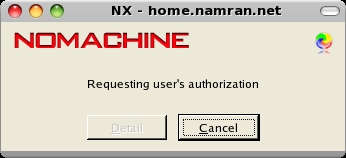
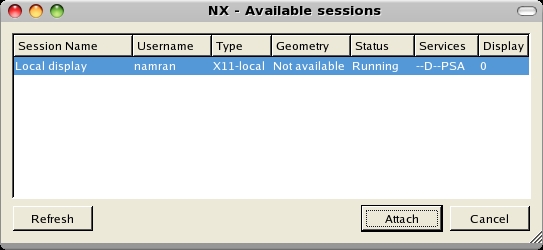
try connecting to the host ..
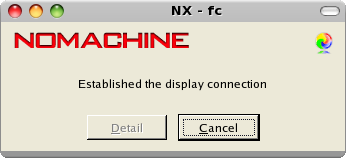
wait until it authorized..
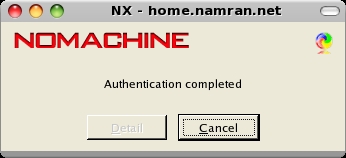
then.. established..
if got sessions .. you can attach to it.. :)
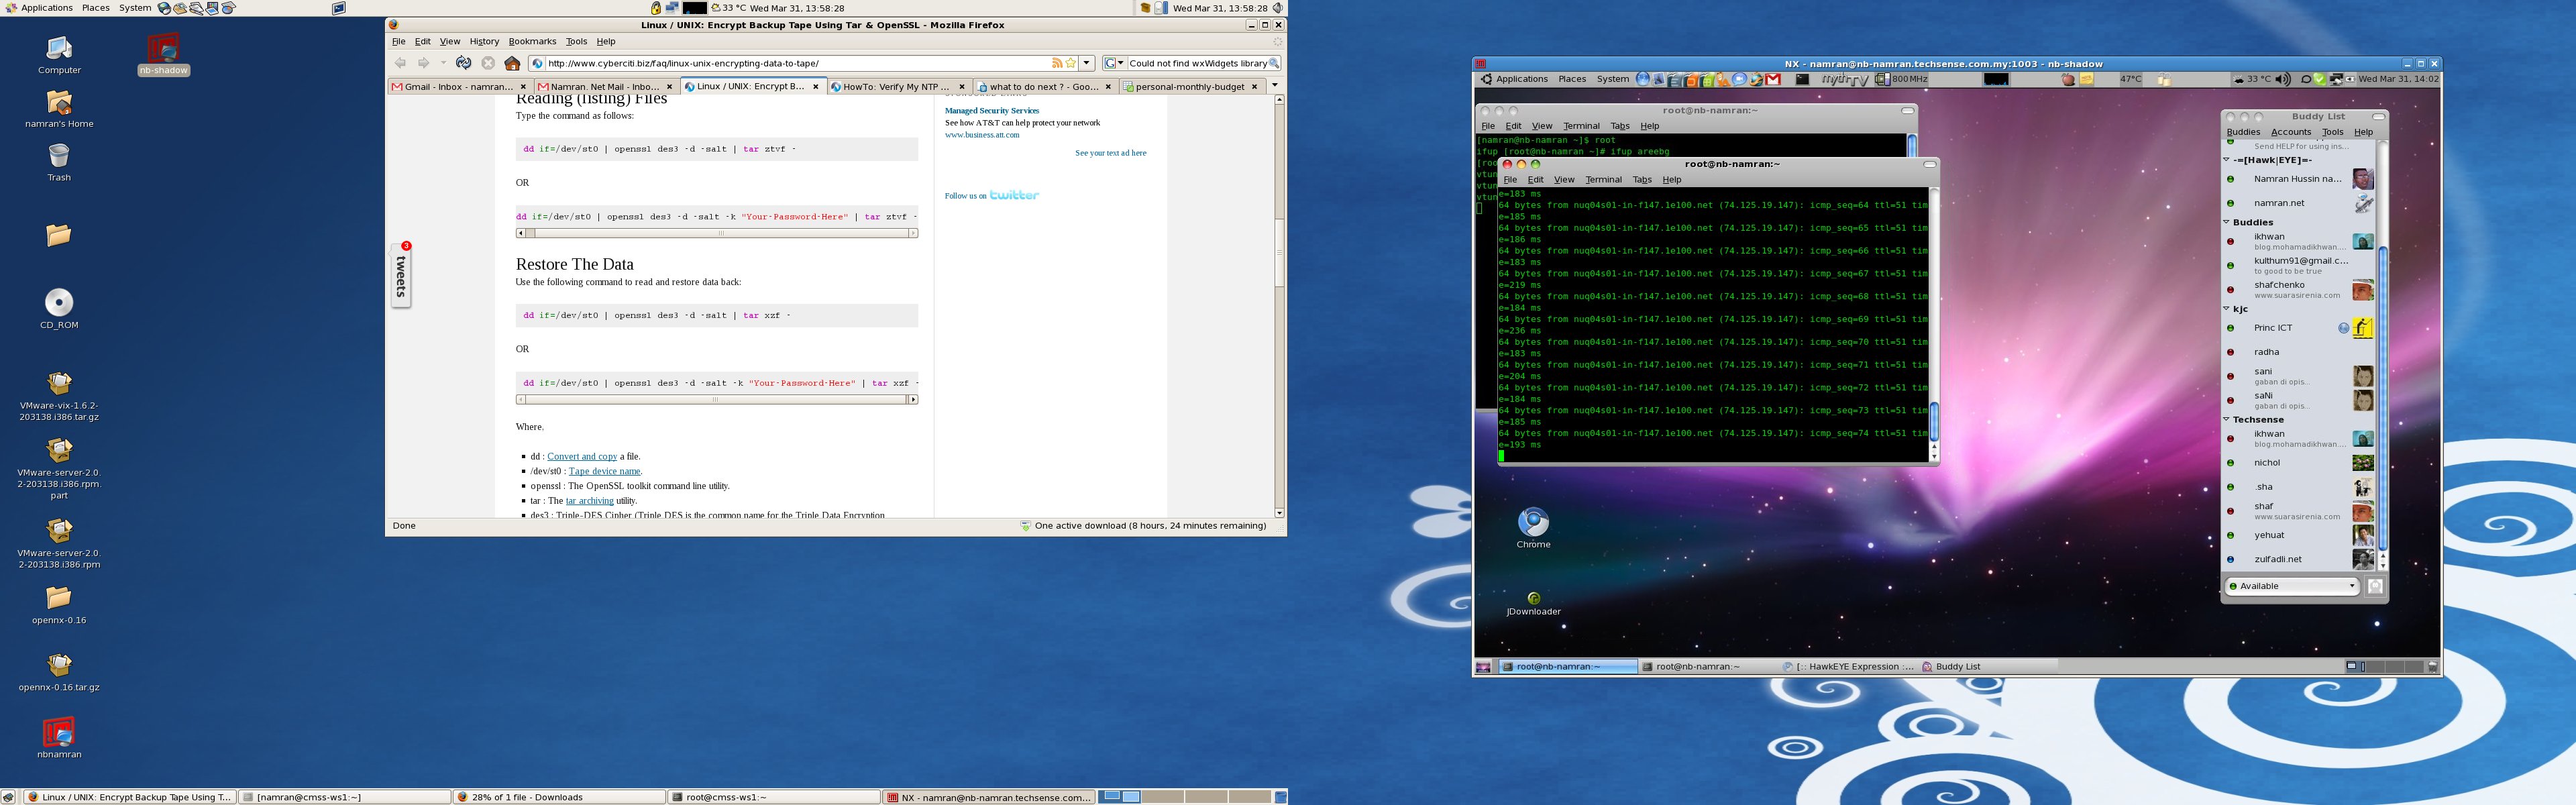
.. I love the shadow part.. as it replicate the real desktop on the host machine..
so can have a view something like this..
p/s : .. this tool is based on the fundamental of SSH command “ssh -Y -l user hostname “.. which forward the display to local.. :)
its very useful indeed when am using two big LCD (on top of two workstation) and a laptop (which contain my personal stuff) ..
Here are five key communication skills that help you speak with clarity and influence: Speak…
Are you ready to unlock your full potential as a man?Discover powerful insights, real-life transformations,…
One day we will set aside one whole day to review the whole lesson we…
Last weekend, 07/12/2024 I managed to join Dev Fest Kuala Lumpur 2024, organized by Google…
TIPS BACAAN AL-QURANOleh: Dr. Muhd al-Muhaysni.1. Jangan engkau berikan (fokus membaca) al-Quran pada lebihan waktumu…
Selawat yang ringkas, yang mana apabila kamu membacanya satu kali sebanding 100 ribu kali, jadi…
View Comments
Note: Installation of NX Server for Linux requires the download and installation of three packages: client, node and server. The client is needed because it ships libraries used by the node. The node is needed because it ships tools needed by the server. Furthermore, the SSH server daemon (SSHD) needs to be up and running on each of the NX Node machines since NX relies on the mechanism provided by the SSH subsystem for handling user authentication.