nice.. === to install transparent gateway on it === assumed installed as default.. we will need.. 1. squid. 2. dansguards. 3. iptables. 4. webmin. 5. MRTG
Tahniah to Pak Lah..Tahniah to Pak Lah..
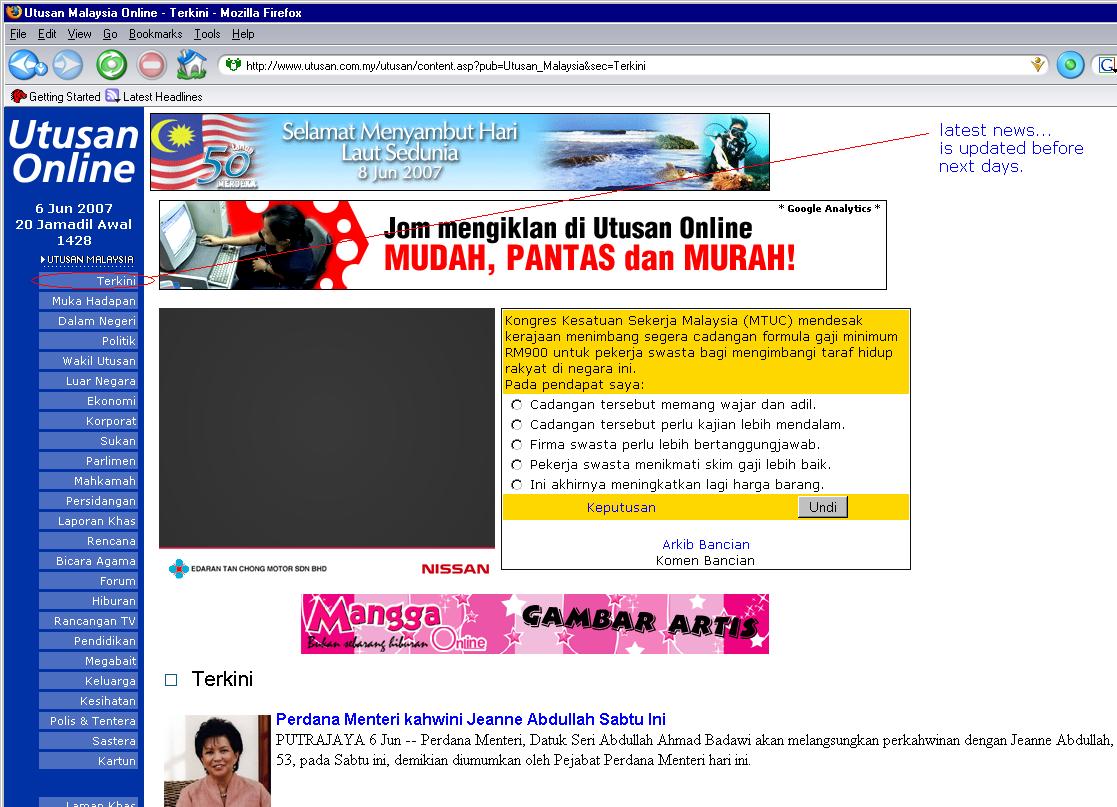
It is now the fact. no longer a rumours… The mainstream media already published it on the web.. Tahniah..
Power of Will..Power of Will..
The difference between a successful person and others is not a lack of strength, not a lack of knowledge, but rather in a lack of will. … It just a matter of will.. either a go.. or no go.. its all depend on yourself.. Unleashed your passion..
vpn on windowz and fedora core 7vpn on windowz and fedora core 7
fedora core 7 was released to public on 31st may 2007.. but today already 3 june 2007. still not managed to get a copy of it.aiyo.. the Open VPN support
Best effort… basis..Best effort… basis..
Dang ~!.. is the internet connection went down again ? Or there is another big earthquake somewhere .. owh.. one of the fibre optic in a company .. had been
fascinating….fascinating….
a young boy.. ovylbsLYcwc tribute to the best…. I want to die with my forehead on the groud, The sunnah in my heart, Allah in my mind, Quran on my
SMB over SSHSMB over SSH
Securing Windows File Sharing Using SSH Connection Tunneling Tunneling Windows file shares is useful if you want to comfortably access files on a Windows machine that is only accessible via
I need a hardisk…I need a hardisk…
huh.. i am gonna need a new hardisk soon.. just about to test few thing on centos5.. which is equivalent to RHEL5.. but somehow.. no more space left..
Java.. applet.. weirdo?Java.. applet.. weirdo?
have you ever have this kind of display..when running an applet ? while the code is just like this.. Socket s = null; try { s = new Socket(getCodeBase().getHost(),Integer.parseInt(p.getProperty(“image.1.port”))); //
Backup laptop data.. over ssh and tar..Backup laptop data.. over ssh and tar..
cd /home ; tar cvf – user | ssh remotemachine ‘cd /destination ; tar xf -‘ it will transfer all file in /home/user to remotemachine:/destination later on.. you might need